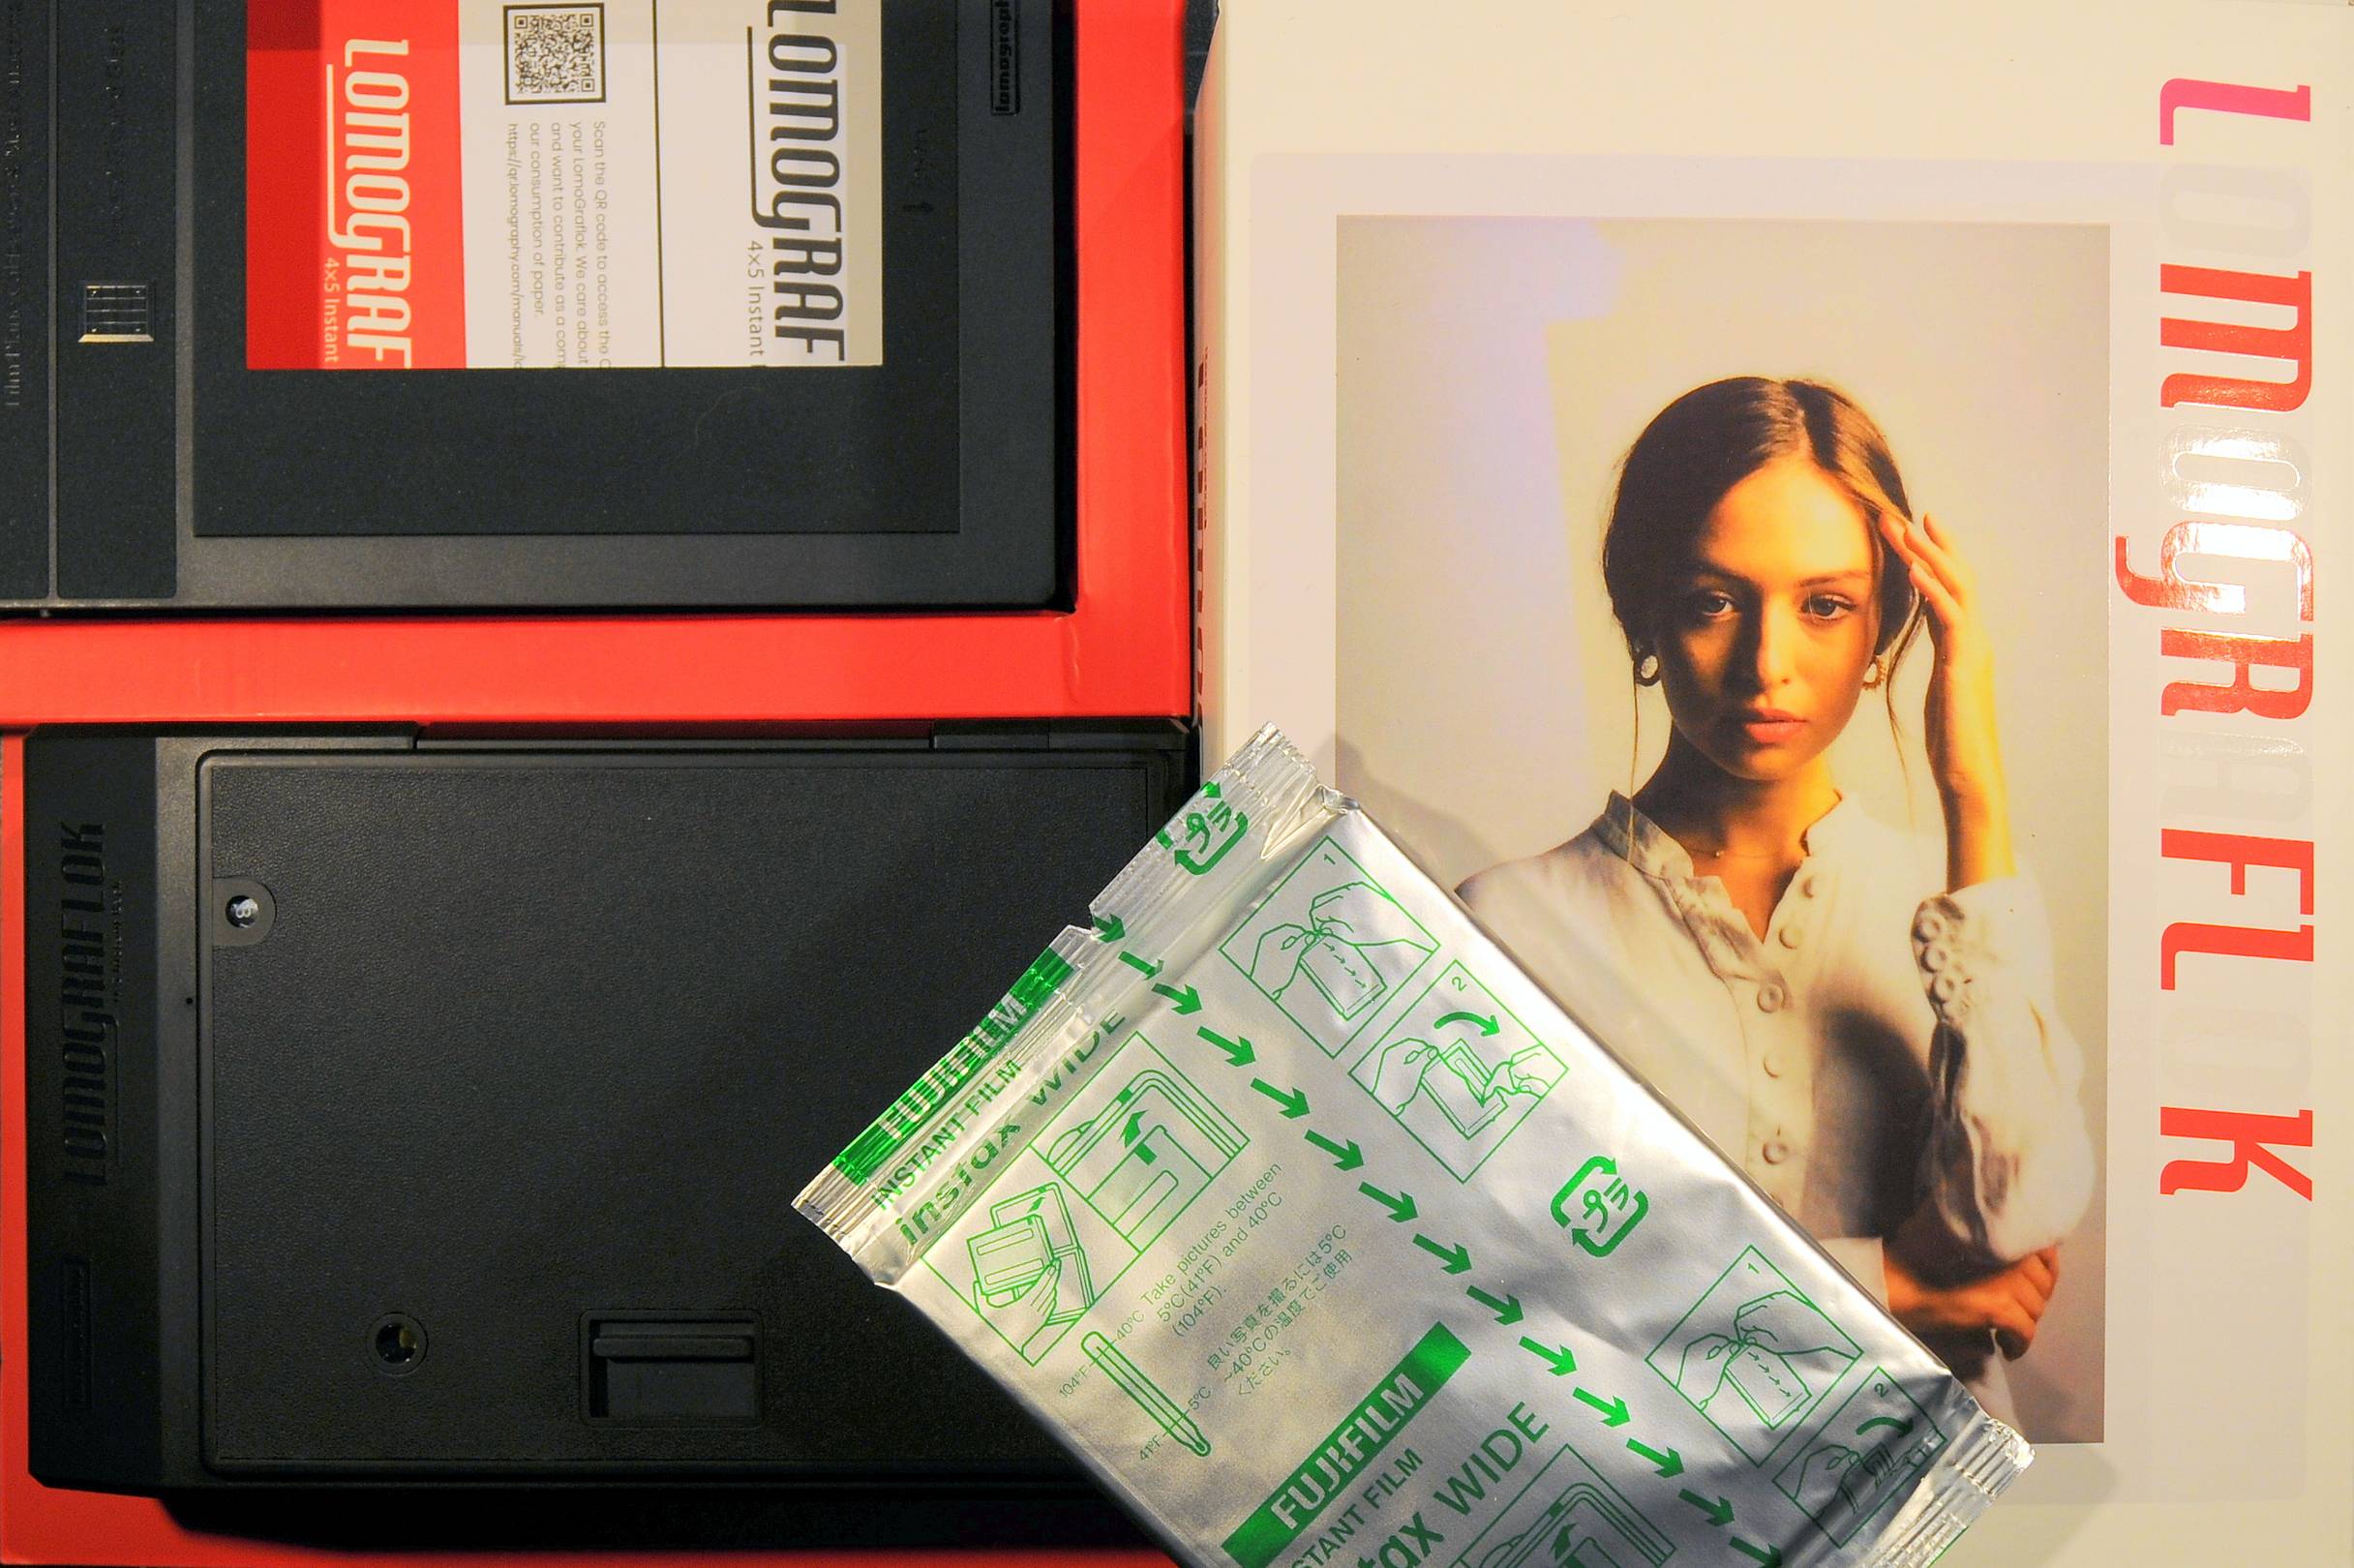
Lomograflok 4x5"

Photographer:
steamtug1959
Uploaded:
2022-10-19
Tags:
4x5 lomograflok
Albums:
Plaubel Peco Junior 4x5"

19 Comments

  1. steamtug1959
    steamtug1959 ·

    Lomograflok Testbericht von Profi-Foto:
    www.profifoto.de/neuheiten/kameras/2021/04/12/4x5-instant-b…

  2. steamtug1959
    steamtug1959 ·

    Lomograflok Test by Petapixel:
    petapixel.com/2021/10/27/the-lomograflok-4x5-instant-back-r…

  3. steamtug1959
    steamtug1959 ·

    Lomograflok User Manual:

    Instax Wide Graflok Back Instructions:
    Thanks for your purchase! Your Instax Wide Graflok Back is a heavily modified Lomography Belair Instant Back. Unlike the original Lomography item, it functions as a standard Graflok 23 or Graflok 4x5 back (depending on the model). The Mercury 45 version is an RS-20 back: it sits 20mm farther back from the focal plane than a standard roll film back or sheet film holder. Remember that you must configure your lens stack accordingly (i.e., remove one 20mm front spacer). The Mercury 23 version is an RS-30 back. For proper configurations other than RS-0, consult the Mercury View Lens List at www.mercurycamera.com for proper configs for your lens.

    Shooting and Developing:
    These instructions are from Lomography regarding how to operate the back:
    We like to think of the Instant Belair shooting process like a little old-school dancehall routine. Just like the steps in a dance, it’s important to remember the individual parts in order to create a thing of beauty in the end. Your Instant Back is labelled with the numbers 1-3 and these numbers demonstrate the order you should follow with every instant photo you take (after you have installed the back and your film, of course). If you shoot with the 1, 2, 3 routine always in mind, you will have already taken the first important steps to becoming a Belair master dancer!

    1. Firstly, push the Film Ejection Lever on the side of the back all the way down to the bottom “1” position. Now, check your aperture and ISO settings are correct. If everything is set up OK, you are free to hit the shoot button! [i.e., cock and trigger your lens; before the next step, return your dark slide to the closed position]

    2. Once you’ve taken your instant photo, move the Film Ejection Lever all the way back up to the “2”position and hold it.

    3. Then, whilst holding the Film Ejection Lever in the “2” position, wind the Film Ejection Crank on the other side of the Instant Back away from you until your instant photo comes out (the crank is labelled “3” on your Instant Back). Please see some tips later in this guide on how best to use the Film Ejection Crank to get the best results.

    Ground Glass
    For the 4x5 version of the Mercury Instax Wide Back, you can download a mask for your Mercury Limited Ground Glass Back (as well as the Mercury Viewfinder) in the Downloads section of www.mercurycamera.com. Remember, however, that the Instax back sits 20mm farther back than the ground glass back. (You might want to consider utilizing a Mercury 45 Rear Spacer 20 to avoid having to compensate by modifying the lens stack.) The 23 version of our Instax Wide back requires a special ground glass back designed speicifically for it. This back sits at the proper rear spacing distance and gives you a ground glass image of the proper size (larger than our standard 23 ground glass back is capable of).

  4. msiegel
    msiegel ·

    Hallo, dir scheint bei der Anleitung ein kleiner Irrtum unterlaufen zu sein. Es handelt ich um die Anleitung des Mercury Instax Wide Rückteils (manueller Filmauswurf), einem umgebauten Lomo Belair Instax Rückteil.
    Lomography ist ein bisschen knausrig mit Anleitungen aber das LomoGraflok Handbuch habe ich hier gefunden (PDF)
    www.bhphotovideo.com/lit_files/872215.pdf
    LG aus Ö

  5. steamtug1959
    steamtug1959 ·

    Danke @msiegel , habe ein praktisch fabrickneues gebrauchtes LomoGraflok 4x5" gekauft, aber es scheint keine Gebrauchsanleitung (jedenfalls so wie ich Gebrauchsanleitungen kenne) dabei zu sein.
    Muss Mal genauer schauen..
    LG Ralph

  6. msiegel
    msiegel ·

    @steamtug1959 Sollte die Originalanleitung sein, mehrsprachig, mit alles.

  7. steamtug1959
    steamtug1959 ·

    @msiegel vielen Dank !!! Das werde ich auf jeden Fall drucken !!! Werde trotzdem Lomography im Hauptquartier in Wien anschreiben und sehen, ob ich ein Original haben kann. Wer weiss.... .
    LG Ralph

  8. steamtug1959
    steamtug1959 ·

    Lomograflok Gebrauchsanweisung in Form von Film:
    youtu.be/QqEN1pMYQpU

  9. steamtug1959
    steamtug1959 ·

    Lomograflok Belichtung auf Mattscheibe:

    www.lomography.com/magazine/347339-christoph-schaefer-uber-…

  10. steamtug1959
  11. steamtug1959
    steamtug1959 ·

    Files für 3d-gedruckte Schablone mit Mattscheibe:
    petapixel.com/2021/11/06/how-i-3d-printed-a-ground-glass-ba…

  12. steamtug1959
    steamtug1959 ·

    Hier die ganze Webseite von 3d-gedruckte Schablone mir Mattscheibe (Super !!!):
    sgwetplate.com/

  13. steamtug1959
    steamtug1959 ·

    Lomograflok :
    integrated Shim/Schablone mit integrierter Mattscheibe (vereinfacht das fotografieren sehr!!!!).

    www.brooklynfilmcamera.com/accessories/lomograflok-45-integ…

  14. steamtug1959
  15. steamtug1959
    steamtug1959 ·

    Video: Shooting With The LomoGraflok - Instant Film Returns to 4x5":
    youtu.be/IsFsR0KS4Mo

  16. steamtug1959
    steamtug1959 ·

    Video: LomoGraflok Instant Back and the Darkroom:
    youtu.be/7F4xxgMld-k

  17. steamtug1959
    steamtug1959 ·

    Jetzt gibt es auch ein 4x5" Digital-Back (Scanner):
    www.rencay.com/de/produkte/scanbacks.php

  18. steamtug1959
    steamtug1959 ·

    Rencay Digital-Back war ca. 2012:

    www.photoscala.de/2012/02/27/320-mp-minimum-hochaufloesende…

  19. steamtug1959
    steamtug1959 ·

    Scanner-Back Marke Eigenbau:

    www.digicamclub.de/showthread.php?t=20040