Alternative Printing Process: Salt Prints
1 10 Share TweetWhen we picture a honeymoon nowadays, we might picture a perfect island with palm trees and crystal clear water; nothing else to do besides have a relaxing time. Not for William Henry Fox Talbot, who on his honeymoon invented the salt print process.
To be fair, in his day photography was not a process for the masses. Taking a picture was not a simple task, and if you wanted to bring back the memory of a beautiful moment or immortalize a breathtaking view, you had to paint it. A task not everyone was good at.

The story goes that in 1833, while on the Lake Como with his wife, Mr. Talbot deemed his work a mess and vowed to find a way to capture a view without the conventional methods of drawing as he cursed his “faithless pencil”. We can fairly assume that Mrs. Constance Fox Talbot didn't mind her new husband working so much, as she was a brilliant artist herself and so probably understood the urge.
"For when the eye was removed from the prism—in which all looked beautiful—I found that the faithless pencil had only left traces on the paper melancholy to behold." – Henry Fox Talbot
His dedication to overcome his limits intensified as soon as he realized his wife was a superior creator than him, and this personal jealousy led him to the creation of a negative-positive process of photography. In the years to come, he worked with his wife, Constance, to develop photography, and the collection of his extensive work includes what is almost certainly the first photo ever taken by a woman.
The Salt Print Process can be considered a good entry-level technique for those who want to start working with an alternative printing process. In contrast to the albumen print (which has an advanced coating step through the egg white), salt prints use a Sodium Chloride base for the first coating layer and is topped by a silver-based solution.
The Recipe:
Salt print solution:
- 2.5 gr of pure salt
- 125 ml of distilled water
Silver solution:
- 12 gr Silver Nitrate
- 100 ml distilled water
- 6gr citric acid
Hypo Solution - Fixer
- 240gr Sodium Thiosulfate
- 30g Sodium Sulfite
- 800 ml distilled water at 52 ℃
Paper: Hahnemühle series Agave watercolor 290 gr acid-free. This might be a slightly too porous paper as the solution tends to be absorbed under the fiber. We have also tried a classic watercolor paper acid free cotton based with a textured surface.
Tools: Brush, roller, syringe, gloves, glass frame, clips, and tray.
To prepare the salt solution, mix the water and salt thoroughly and make sure that all the salt is dissolved in water.
Silver is mixed with the distilled water. Add the first 50 ml and mix thoroughly. The silver grains will take a longer time to dissolve. Use a stick to feel for the grain deposits and make sure they all dissolve. Then add the citric acid and another 50 ml of water to the solution. The citric acid will help preserve the solution for enough time. This solution must be stored in a dark bottle to protect it from the light. (We used an old mouthwash container.)
Execution:
First step:
Coat the paper with the salt solution. This can be done under normal light. Apply a uniform layer first horizontally and then vertically. Carefully brush the salt solution onto the paper, making sure that the surface has being covered entirely where you will place your negative. Let it dry overnight or for a few hours.
Second step:
Disclaimer: You must use protective gloves.
This solution creates irreversible stains. No cleaning product can wash away the silver. Make sure to use a work station in steel or wood for this kind of work. You must use gloves, as silver will stain your hands otherwise, and will take a few days before leaving your skin. Although it has only a small level of toxicity in the human body, it is still not good for it to come into contact with your skin. If you do come in contact, try to wash it away with a mixture of Iodine solution and sodium thiosulfate.
This part must be done in a dark room, or under a red safe light. As we have previously experienced during the albumen print process, silver nitrate is extremely sensitive. The first drop you will lay on the paper will leave a strong mark.
Therefore, we found that a roller is the most efficient way to uniformly spread the solution, without leaving any significant marks. Apply with continuous motion horizontally and then vertically, take great care to leave no space untouched. Then place it in a dark room until the paper is completely dry. If not, your image will appear blurry, missing sharpness in that area.
Third Step:
Place your negative between the paper and the glass frame, center the image where the coating has occurred, and clip tightly. Expose in full sunlight. Exposure can vary from 30 seconds to one minute. During a summer day a few seconds should be sufficient. When overcast a one-minute exposure is better. If it is a bright sunny day and the sun is at its zenith, the rays will have a strong UV quantity and therefore a 30-second exposure will be optimal.
(If you have overexposed and it is too dark, you risk losing details. You can try to compensate after fixing it with a quick bleach bath in a solution of warm water and washing soda. The ratio should be 8 gr of washing soda to 1 litre of water. The stronger you make the solution, the faster it will bleach the print limiting your control over the result.)
Fourth step:
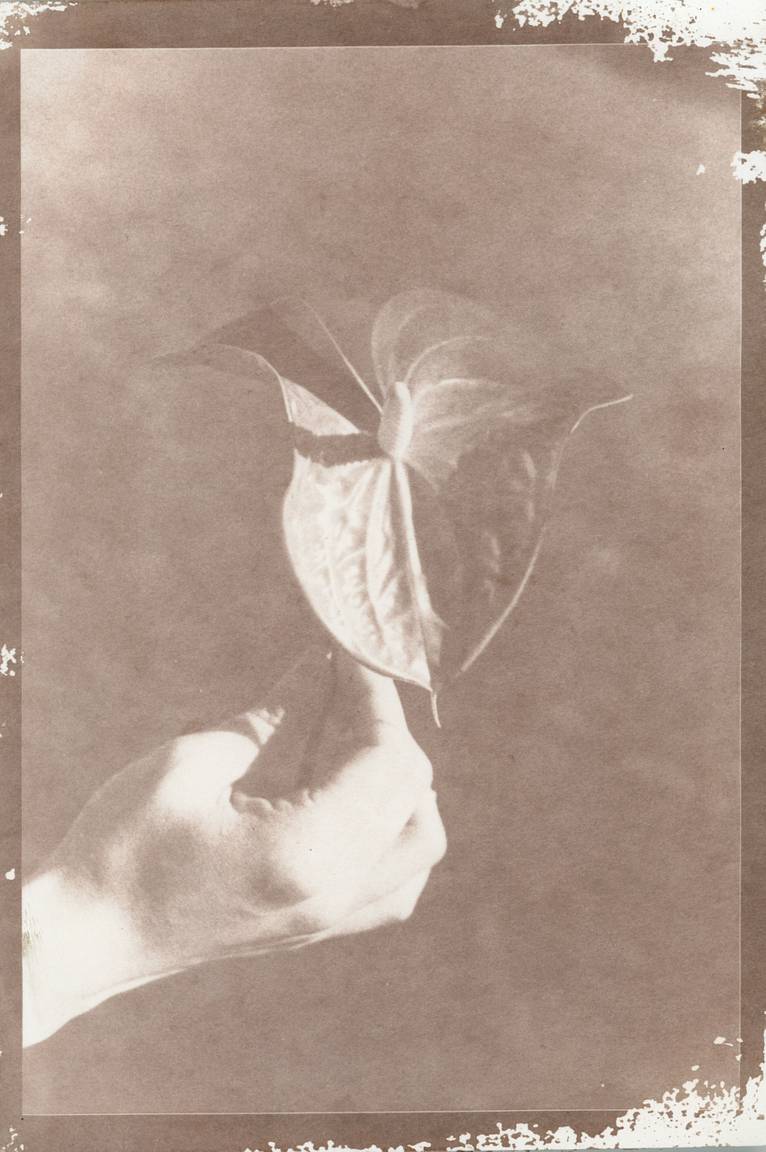
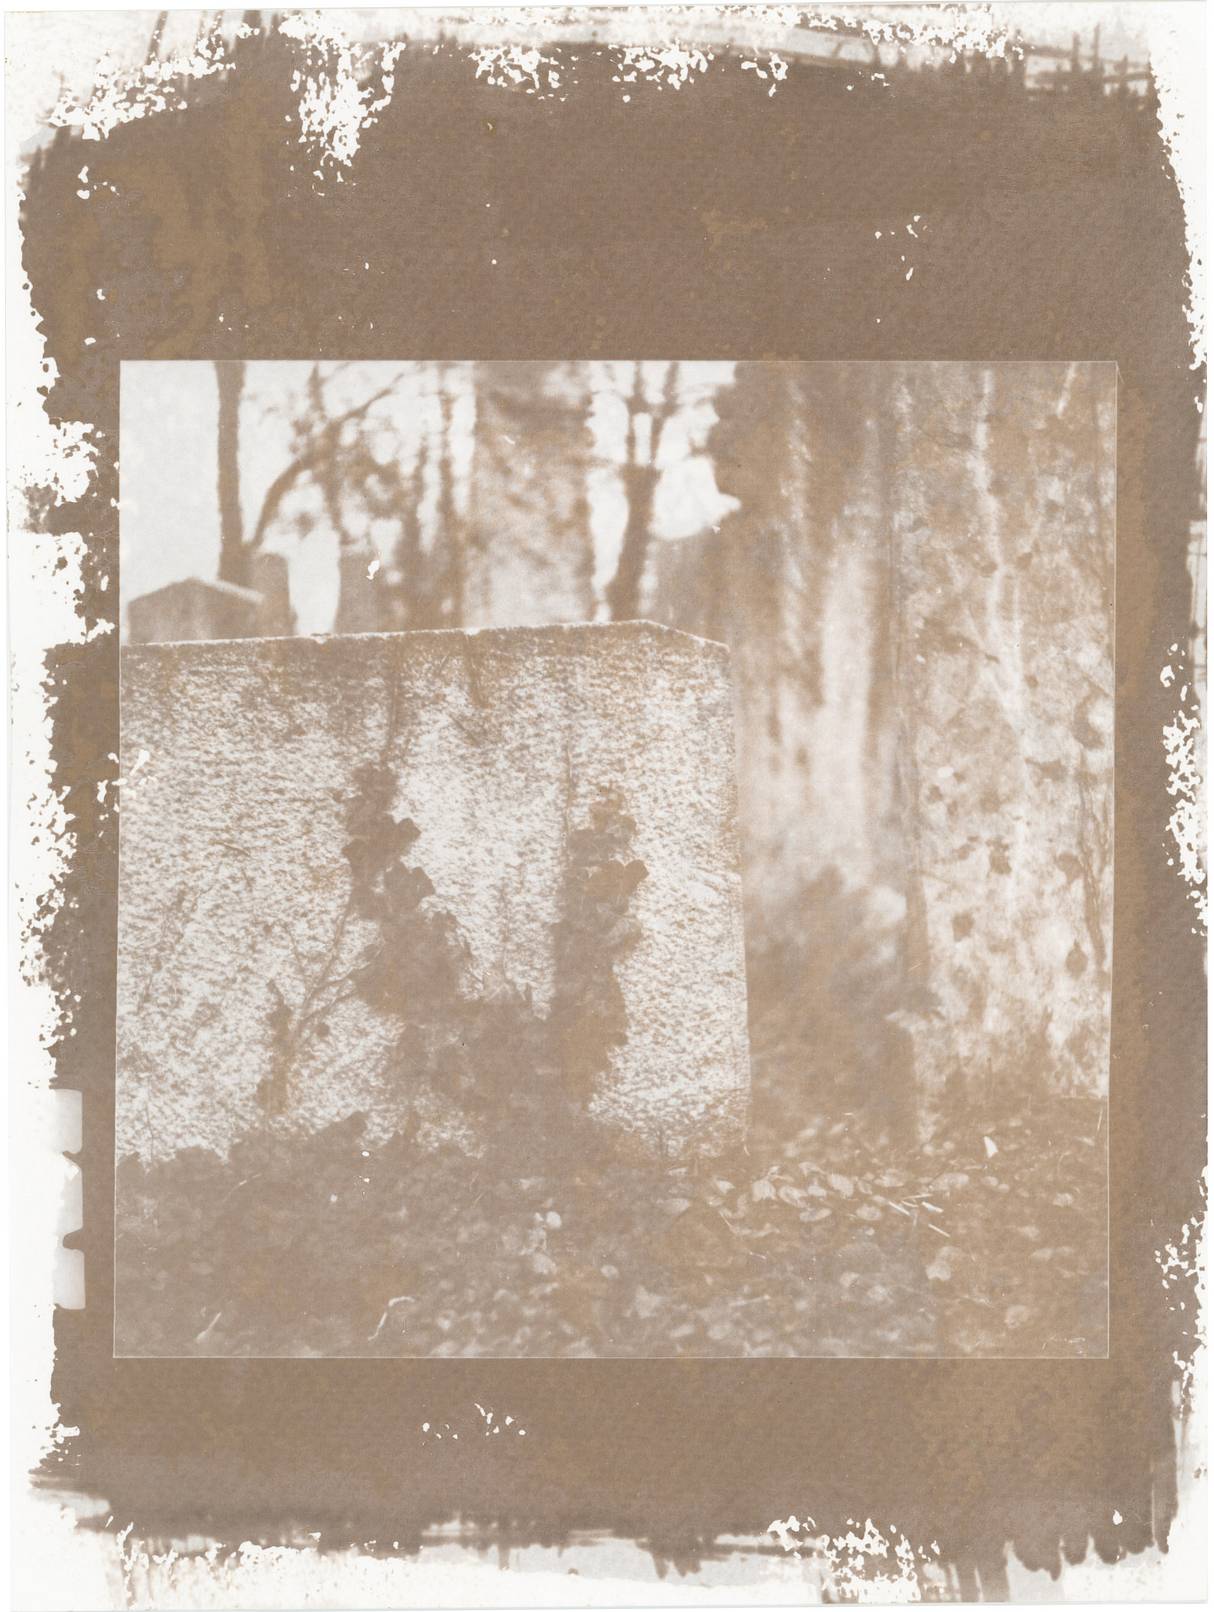
Remove from the sunshine and wash away the unexposed silver under cold water. Give it a good 3 to 4 minutes, then fix it in your Hypo solution. Place your paper face up in the tray and gently rock it for about 4 minutes. You will notice a change in color and gradually it will stabilize to a pale brown color typical of the salt print process. After that, put it back under running water and wash for another 3 to 4 minutes. Then let it dry.
Overall the salt print process can be a straightforward printing technique. The coating of the paper is always the most challenging part as it is there that we literally lay down the base for a good print. Your taste will also influence the final result of your prints. The brush can be harsh and leave a strong mark, or you may use smooth strokes to focus on the image.
Every time we approach a historical printing technique it is a remarkable experience. It is fascinating that since 1834, up until our time, artists have been able to take control over their work from start to finish and showcase their skill.
Which is your favorite alternative printing process? Share your thoughts in the comments below.
written by eparrino on 2023-08-15 #tutorials #videos #william-henry-fox-talbot #salt-print #alternative-printing-process #constance-fox-talbot #old-print #silver-solution











One Comment